Why Use a Pellet Stove for Hot Tent Camping?
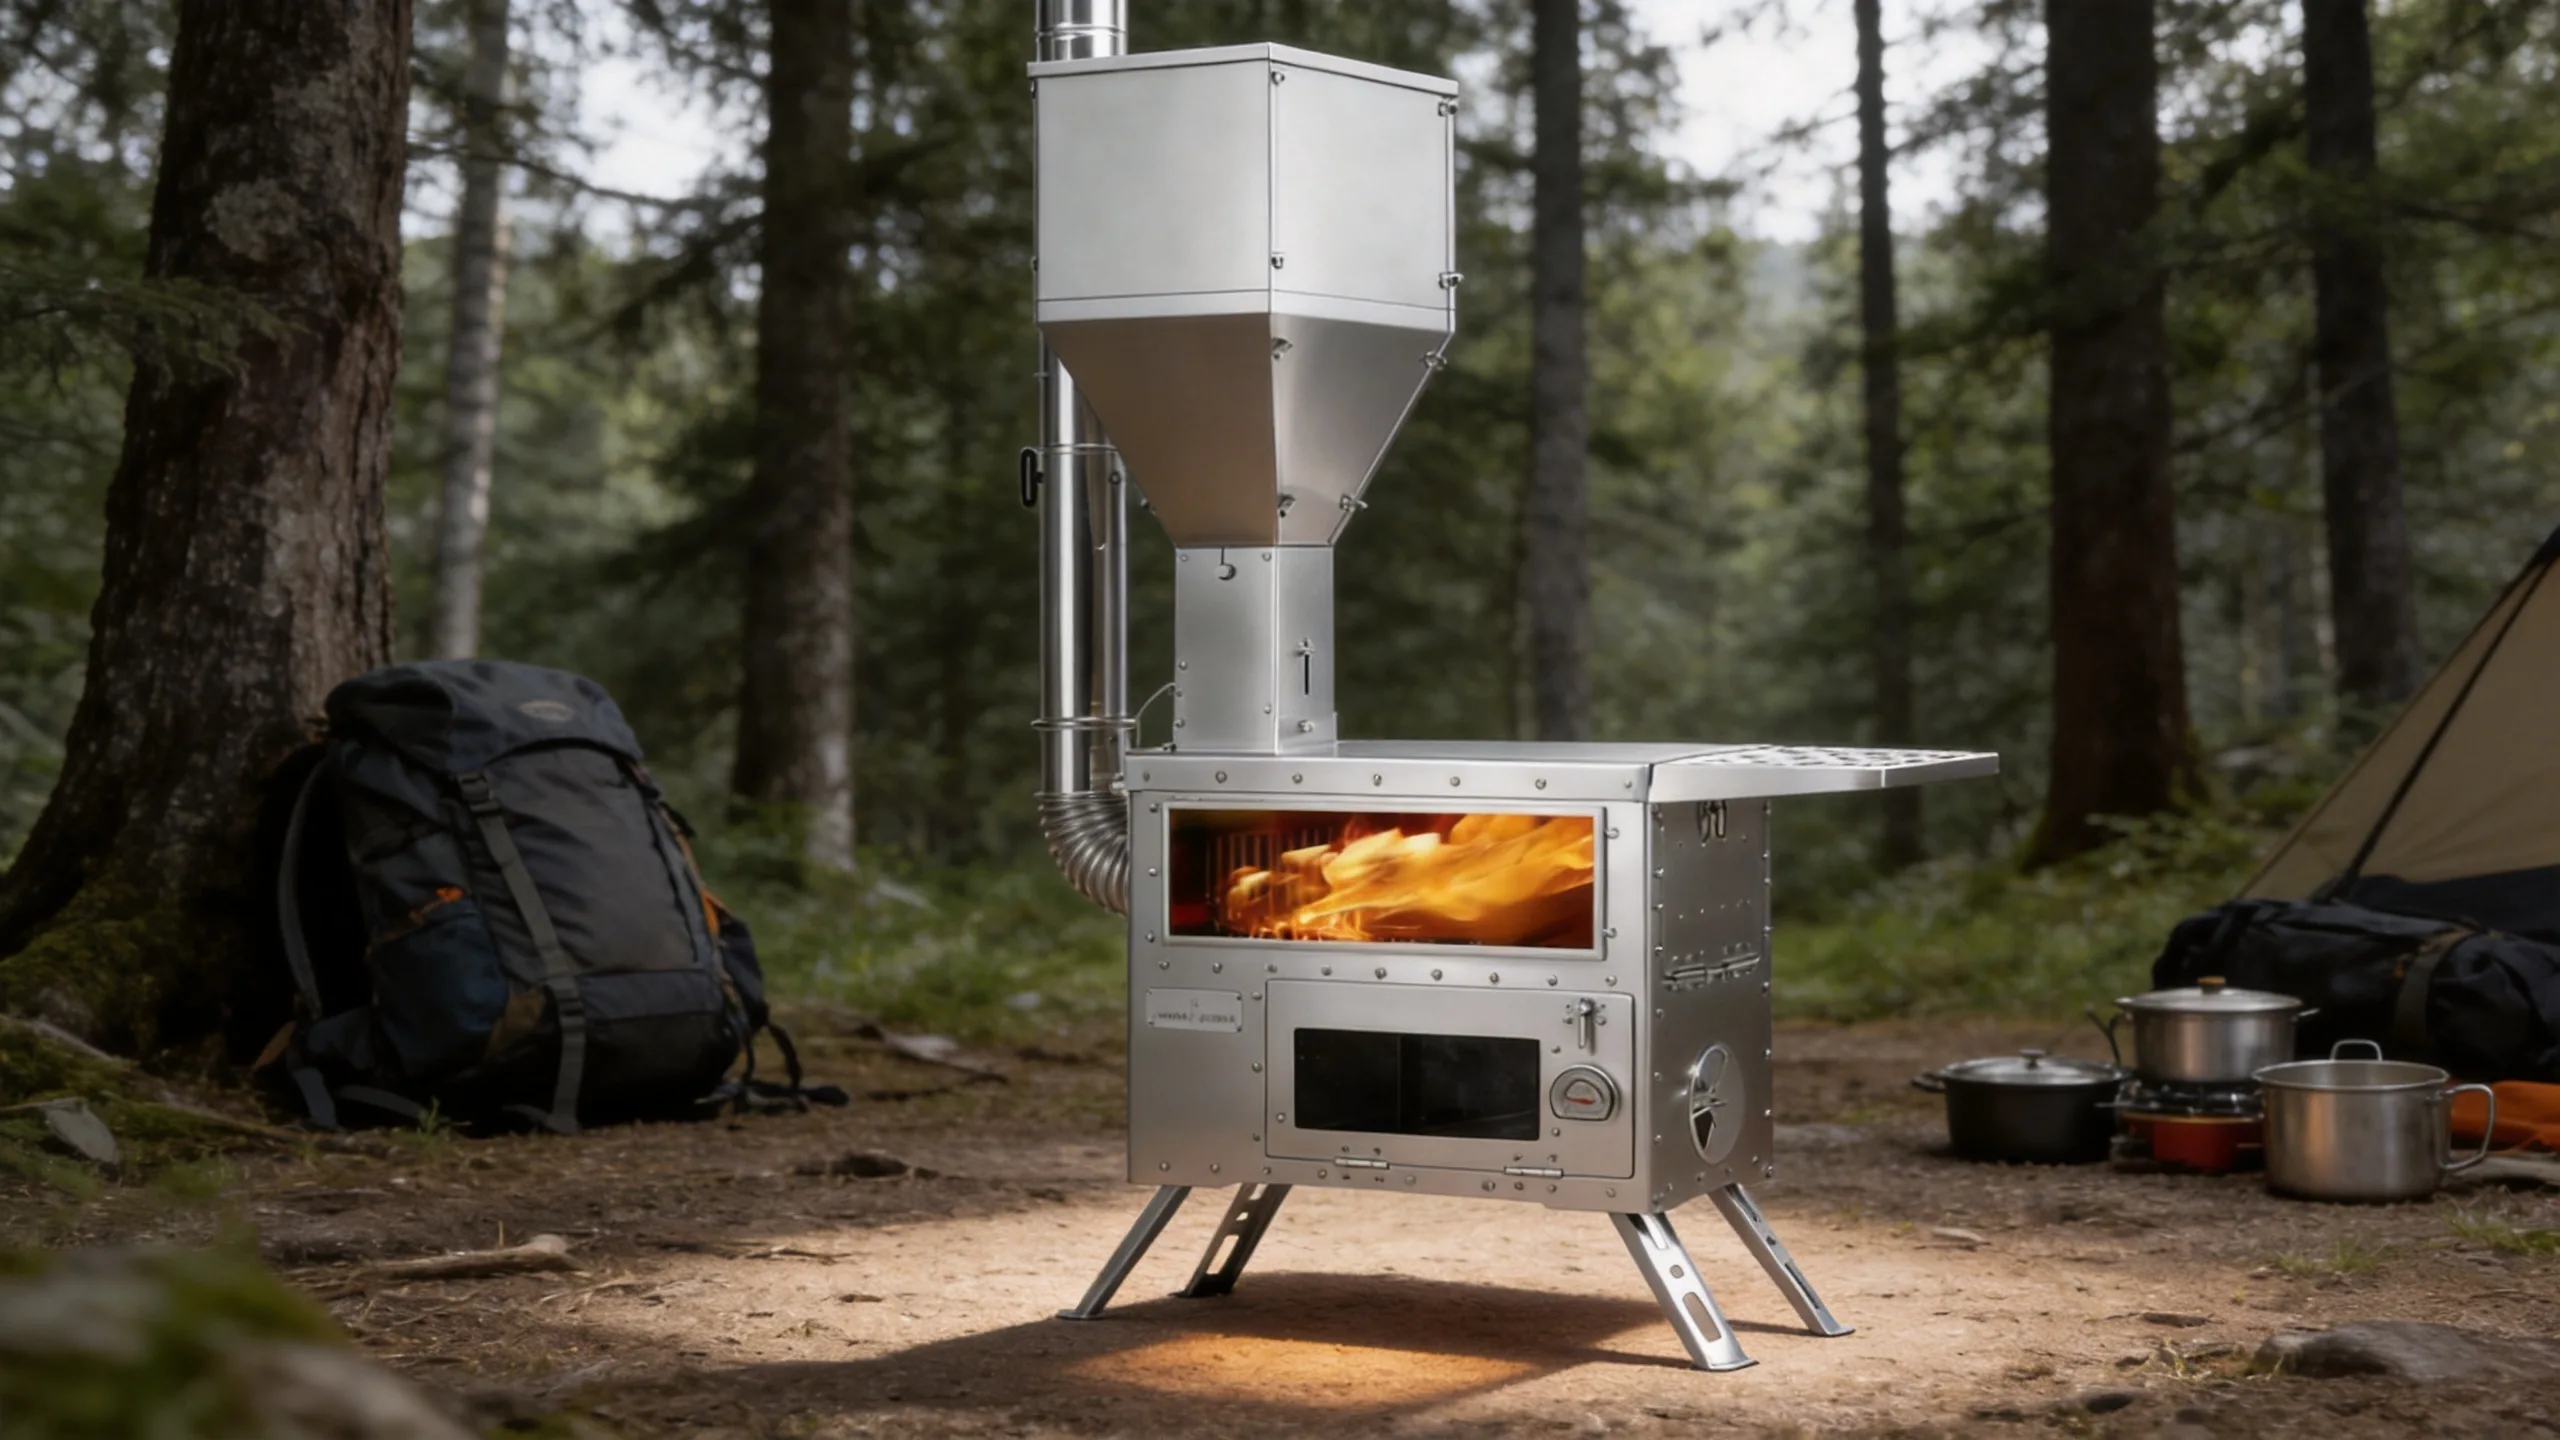
Pellet stoves are gaining popularity among winter campers because they offer consistent, controllable heat with less frequent refueling compared to traditional wood stoves. A quality pellet stove can run 10-12 hours on 40 pounds of pellets, making it ideal for overnight burns. They also produce less smoke and creosote, which means cleaner tent walls and easier cleanup.
However, most tents don’t come with a factory stove jack. That doesn’t mean you can’t enjoy the comfort of a hot tent. With a few DIY tricks and safety precautions, you can safely install a pellet stove in almost any tent.
Step 1: Assess Your Tent and Choose the Right Stove
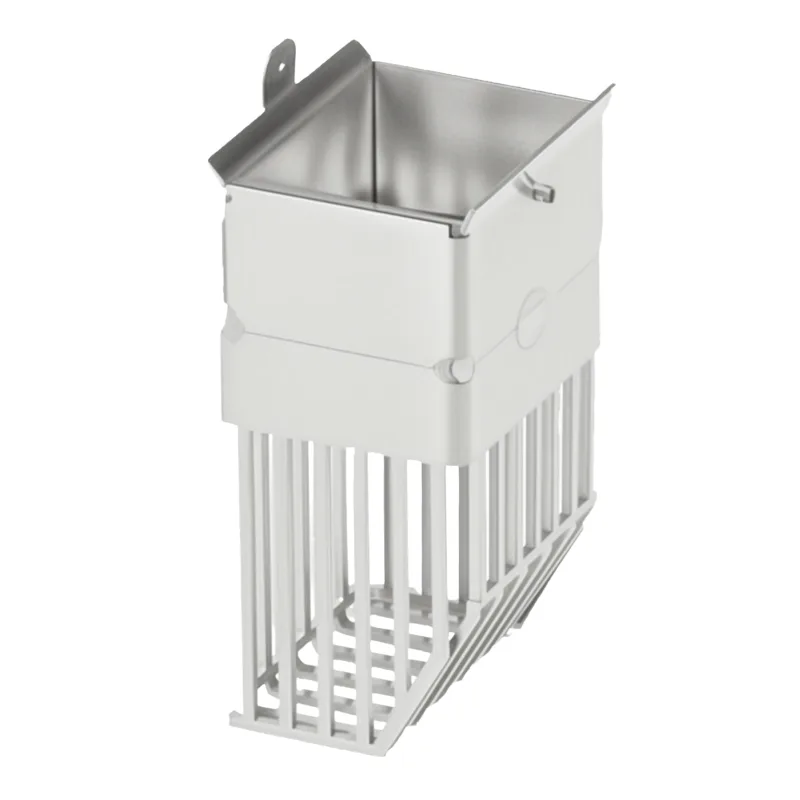
Before you start cutting holes, evaluate your tent’s size and material. Hot tenting requires a tent with a stove jack or a DIY modification. For a DIY approach, you’ll need a silicone flashing kit (often used for chimney flashing on roofs) that can be adapted to fit your tent’s wall. The flashing creates a fireproof seal around the stovepipe.
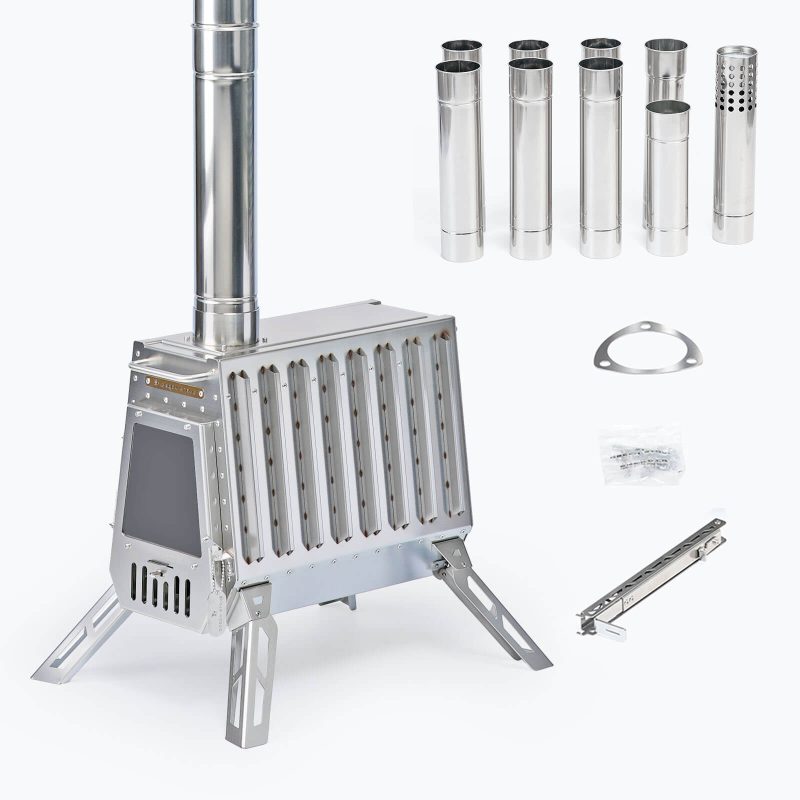
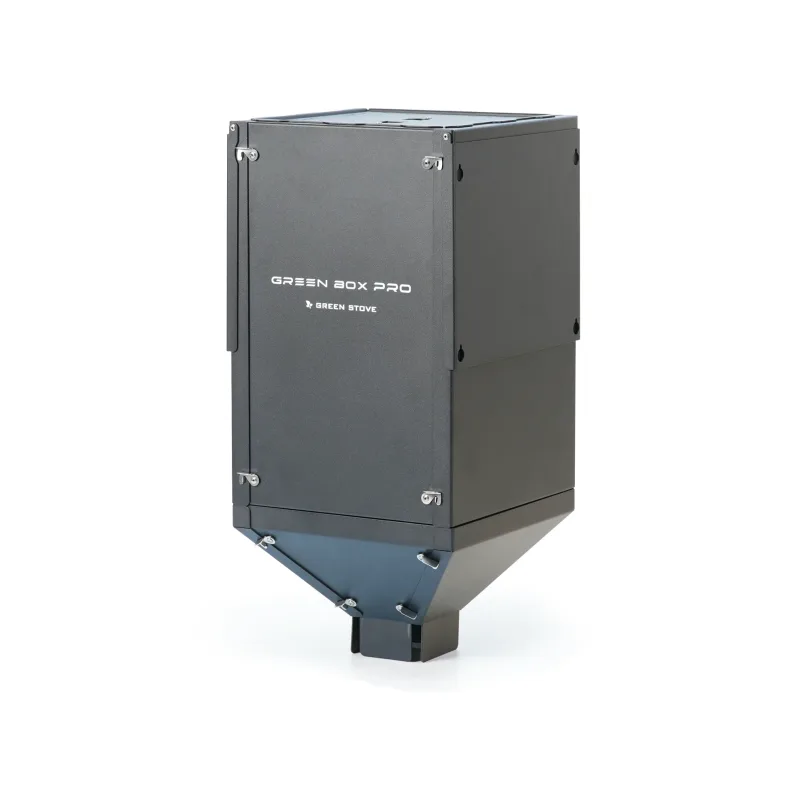
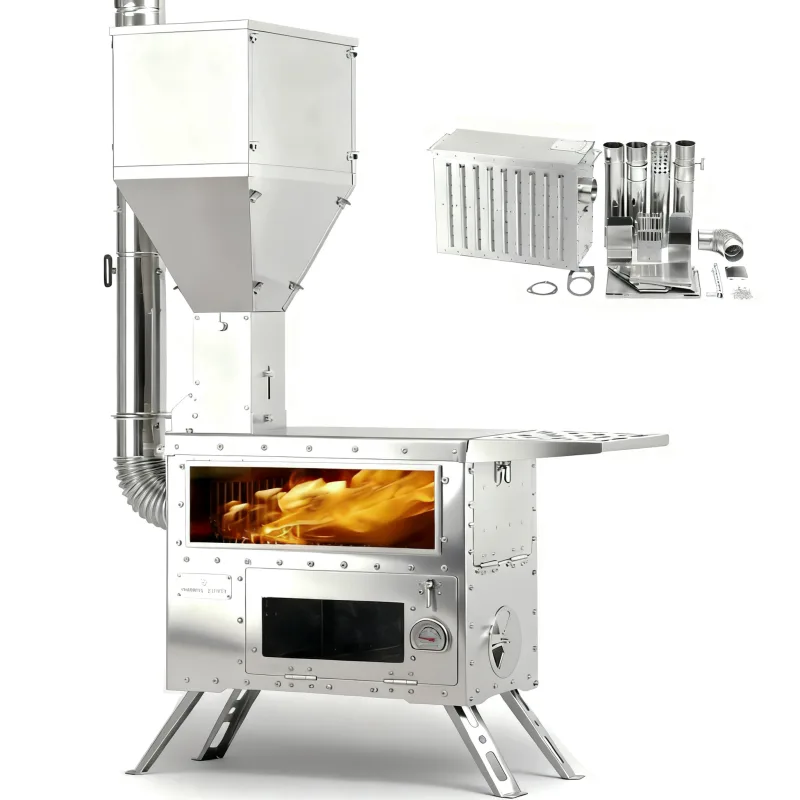
When choosing a pellet stove, consider portability and heat output. The Green Stove Hori 5 and Hori 5 Max are excellent options for tent camping. They are compact, efficient, and designed with safety features like cool-touch handles and a stable base. The Hori 5 Max offers a larger hopper for longer burn times, perfect for overnight stays.
Step 2: Gather Your Materials
For a safe DIY stove jack installation, you’ll need:
- Silicone flashing kit (available at hardware stores or online)
- Stovepipe sections (typically 3-inch or 4-inch diameter, depending on your stove)
- Stovepipe adapter (if needed)
- Heat-resistant sealant (silicone or high-temp caulk)
- Scissors or utility knife
- Measuring tape
- Pencil or marker
- Fireproof mat or tile for under the stove
- Carbon monoxide detector (essential for any combustion appliance in a tent)
Step 3: Install the Flashing Kit
Here’s how to create a safe stove jack in your tent:
- Choose the location: Place the stove at least 12 inches away from the tent wall, and position the flashing on the wall directly above the stovepipe outlet. Ensure the area is clear of any tent poles or seams.
- Mark and cut: Trace the inner diameter of the flashing onto the tent fabric. Cut a small X or circle slightly smaller than the tracing to ensure a snug fit.
- Apply sealant: Apply a bead of heat-resistant sealant around the cut hole, then press the flashing over the hole. The flashing should have a flexible silicone lip that can be folded to match the tent’s slope.
- Secure the flashing: Use the provided screws or adhesive to secure the flashing to the tent. Make sure it’s watertight and airtight.
- Attach the stovepipe: Connect the stovepipe to the stove and feed it through the flashing from the inside. The pipe should extend at least 2 feet above the tent roof for proper draft.
- Seal the gap: Use additional sealant around the pipe where it exits the flashing to prevent rain or snow from entering.
Step 4: Set Up Your Stove Safely
Place the stove on a fireproof mat or tile to protect the tent floor from heat and embers. Ensure the stove is level and stable. Connect the stovepipe and double-check all connections. Install a carbon monoxide detector inside the tent, ideally at sleeping height, and test it before lighting the stove.
Step 5: Light Your Pellet Stove
Pellet stoves are straightforward to operate. Fill the hopper with quality wood pellets (avoid cheap brands that produce excess ash). Light the burn pot according to the manufacturer’s instructions. Typically, you’ll use a small amount of firestarter or gel, then adjust the feed rate and airflow to achieve a steady flame. The Green Stove Hori 5 features an adjustable feed system that lets you fine-tune the heat output.
Checklist for a Successful Hot Tent Setup
- Choose a tent with adequate ventilation (at least one window or vent)
- Use a silicone flashing kit for a temporary or permanent stove jack
- Keep the stove at least 12 inches from any combustible material
- Always use a fireproof mat under the stove
- Install a carbon monoxide detector
- Keep a fire extinguisher and a bucket of snow or water nearby
- Never leave the stove unattended while burning
Common Mistakes to Avoid
- Poor ventilation: Always ensure there’s a source of fresh air. Pellet stoves consume oxygen, and a sealed tent can lead to carbon monoxide buildup.
- Incorrect pipe clearance: The stovepipe must be at least 18 inches from any tent fabric. Use a heat shield if necessary.
- Skipping the flashing: Never run a stovepipe directly through a hole in the tent without a flashing kit. This is a fire hazard.
- Using low-quality pellets: Cheap pellets produce more ash and can clog the burn pot. Invest in premium pellets for cleaner burns and less maintenance.
- Not cleaning the stove: Regularly clean the burn pot and heat exchanger to maintain efficiency and prevent soot buildup.
Why Choose a Pellet Stove Over a Wood Stove?
Pellet stoves offer several advantages for tent camping:
- Longer burn times: With a hopper, you can sleep through the night without waking up to add fuel.
- Consistent heat: Adjustable feed rates provide steady temperatures.
- Cleaner burn: Pellets produce less smoke and creosote, keeping your tent cleaner.
- Easier to light: No need to chop wood or deal with kindling.
The Green Stove Hori 5 is a lightweight, portable option that fits easily in a car or sled. The Hori 5 Max offers a larger hopper for extended trips. Both models are designed with safety in mind, making them great choices for DIY hot tent setups.
Final Thoughts
With the right materials and a bit of DIY spirit, you can transform almost any tent into a warm, inviting hot tent. The key is to prioritize safety and follow the steps carefully. Whether you choose a ready-made stove jack or a DIY flashing kit, a pellet stove like the Green Stove Hori 5 will keep you toasty even in sub-zero temperatures.
FAQ
Can I use a pellet stove in a tent without a stove jack?
Yes, you can use a silicone flashing kit to create a safe stove jack. This involves cutting a hole in the tent and sealing the flashing around the stovepipe. Always ensure proper clearance and ventilation.
How long will a pellet stove burn on a full hopper?
Depending on the stove and heat setting, a pellet stove can burn 10-12 hours on 40 pounds of pellets. The Green Stove Hori 5 Max has a larger hopper for extended burn times.
Is it safe to sleep with a pellet stove burning?
It can be safe if you follow precautions: use a carbon monoxide detector, ensure proper ventilation, keep the stove on a low setting, and never leave it unattended. Many campers do overnight burns, but always prioritize safety.
What is the best type of pellets for a tent stove?
Look for premium hardwood pellets with low ash content. They burn cleaner, produce more heat, and require less maintenance. Avoid cheap brands that may contain additives or produce excessive soot.
How do I clean a pellet stove after camping?
After the stove cools completely, empty the ash pan and wipe down the burn pot and heat exchanger. Use a small brush to remove any soot. Regular cleaning prevents airflow blockage and maintains efficiency.
![GREEN STOVE Hori 5 All-In-One Gravity Fed Pellet Wood Burning Hot Tent Stove [Classic Control Version]](https://green-stove.com/wp-content/uploads/2025/06/Green-Stove-Hori-5-Pellet-Stove-800x800.webp)