Introduction
A properly installed chimney pipe is the backbone of a safe and efficient hot tent setup. Without it, smoke fills your shelter, draft suffers, and the risk of fire or carbon monoxide exposure rises. Whether you’re a winter camper, a hot-tent beginner, or an experienced backpacker, understanding how to route, secure, and maintain your stovepipe is essential. This guide walks you through the process step by step, with practical tips and a checklist to keep you on track.
Step 1: Choose the Right Stovepipe for Your Tent Stove
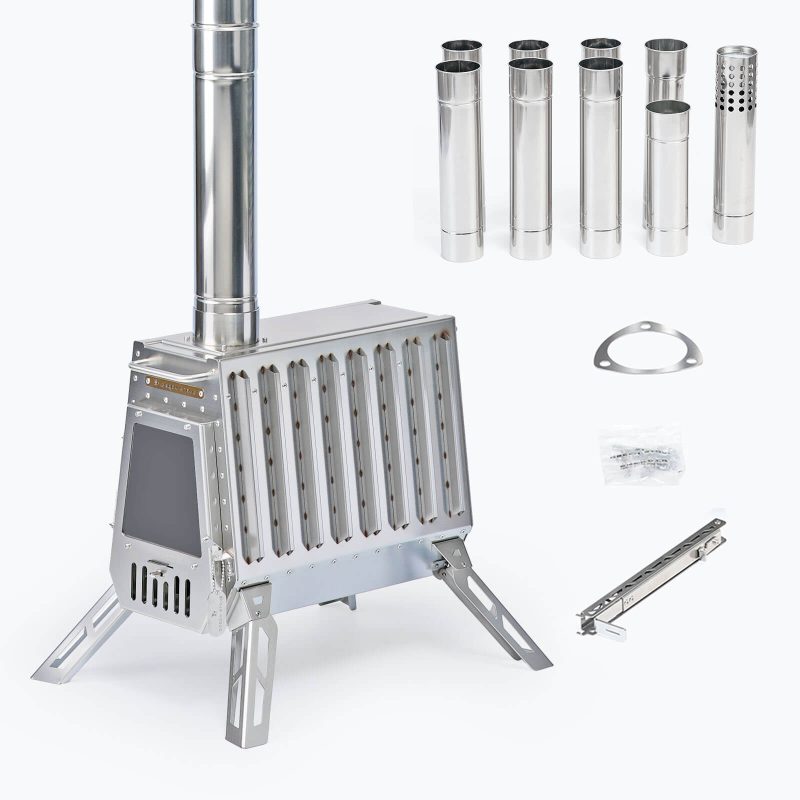
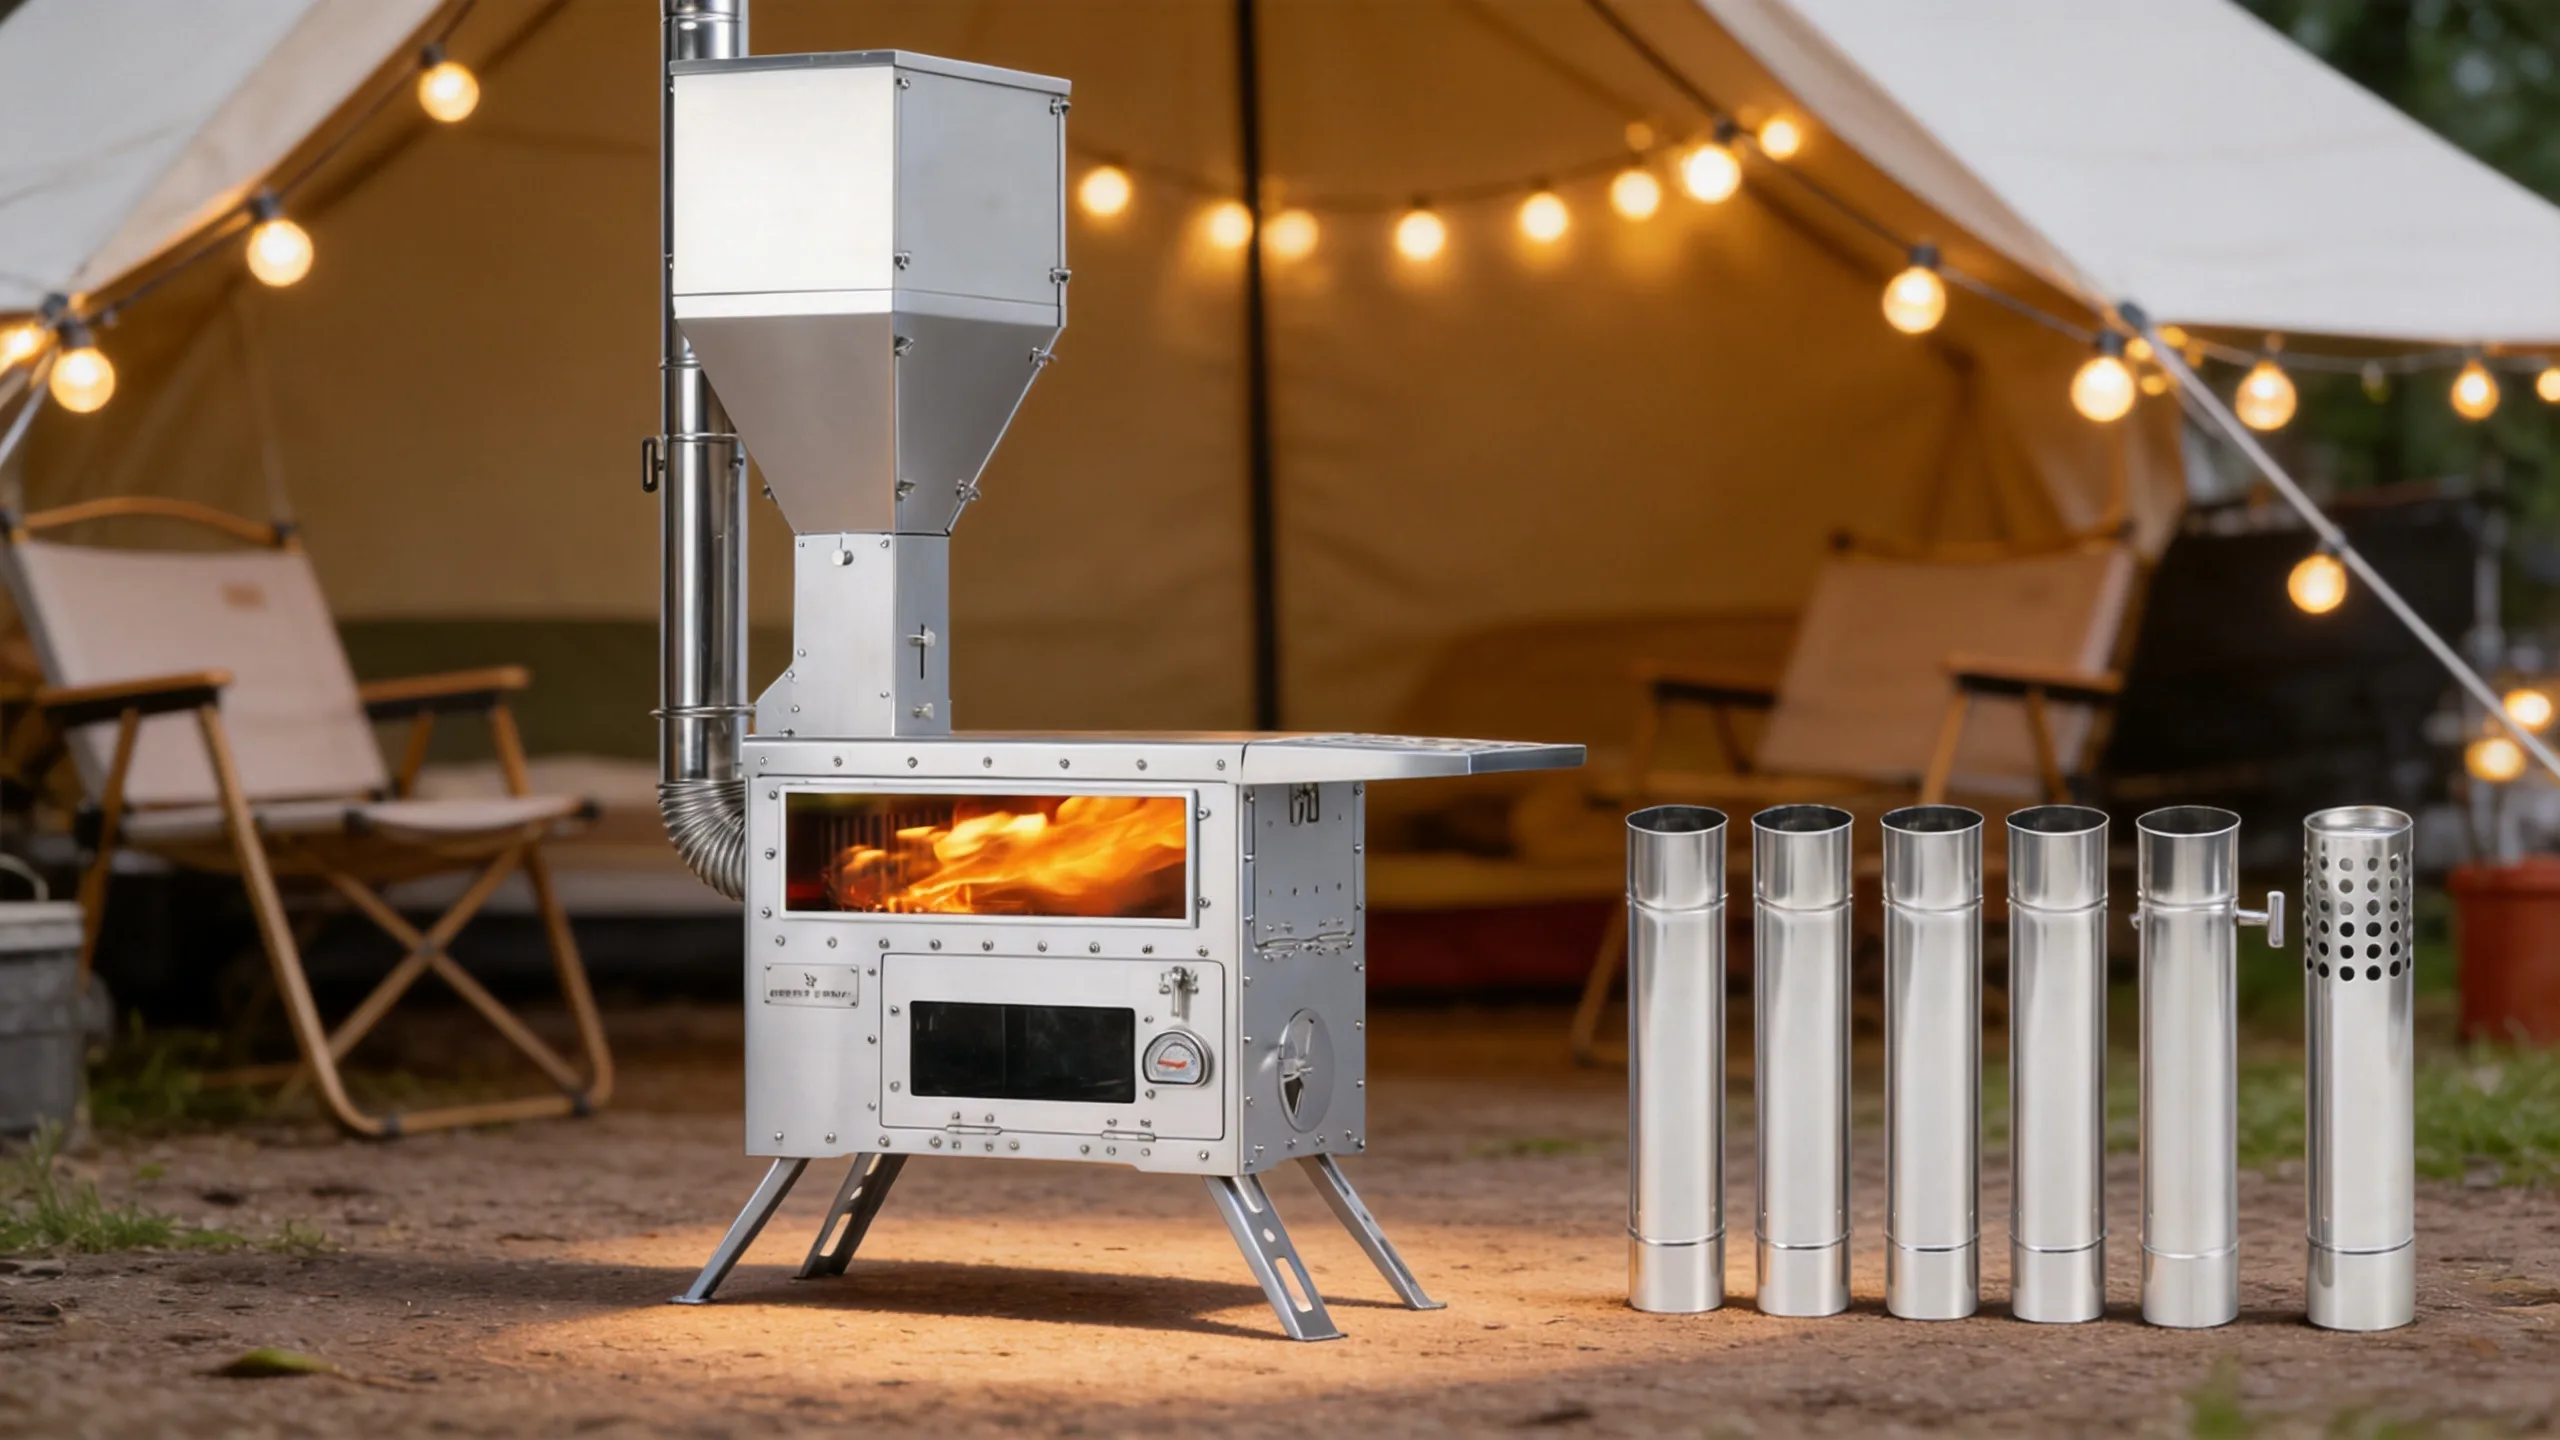
Not all stovepipes are created equal. For tent stoves, you’ll typically use a 3-inch or 4-inch diameter pipe. Rolled titanium or stainless steel pipes are popular for their lightweight and durability. Double-wall pipes can help reduce creosote formation and keep the outer surface cooler, but they are heavier and more expensive. If you’re using a pellet stove like the Green Stove Hori 5 or Hori 5 Max, check the manufacturer’s recommendation for pipe diameter and length.
Consider the length: you’ll need enough pipe to exit the tent and extend at least 6 inches above the highest point of your shelter. A common setup includes several sections that connect with crimped joints or band clamps. Some campers cut a 6-foot length into manageable pieces for easier packing.
Step 2: Install the Stove Jack (Flashing Kit)
The stove jack, also called a flashing kit or exit, is a heat-resistant boot that seals the hole where the pipe exits your tent. Most tents come with a pre-installed jack, but if yours doesn’t, you’ll need to install one. Silicone stove jacks are popular because they create a watertight, fireproof seal. To install, cut a hole in the tent wall or roof at the desired location, ensuring it’s at least 6 inches away from any flammable material. Follow the manufacturer’s instructions for securing the jack.
If you’re using a wall exit, attach the stovepipe to the flue flange first, then cut the hole through the wall. For roof exits, the jack is typically installed on the roof panel. Always maintain a minimum 6-inch clearance between the pipe and any canvas or fabric.
Step 3: Position the Stove and Route the Pipe
Place your stove in a location that keeps the flue pipe away from the doorway and at a safe distance from tent walls. In pyramid tents, the center is often ideal because it allows the pipe to go straight up and out, minimizing bends. Bends restrict airflow and increase creosote buildup, so aim for as straight a run as possible.
Connect the first section of pipe to the stove’s flue collar. If you’re using a pellet stove like the Green Stove Hori series, the flue collar is typically on top. Ensure each joint is secure; you can use self-tapping screws or band clamps to prevent sections from separating. Route the pipe through the stove jack, making sure it doesn’t touch the fabric. The pipe should extend at least 6 inches above the tent’s highest point to ensure good draft.
Step 4: Secure the Chimney with Guy Lines
Once the pipe is through the jack, you need to stabilize it outside. Use guy lines attached to the pipe or a chimney support bracket. In windy conditions, a tall chimney can sway and even dislodge, creating a fire hazard. Tie the guy lines to sturdy anchors like stakes or trees, maintaining tension without bending the pipe. Some campers use a tripod or a dedicated chimney support system for added stability.
If your pipe sections are not self-supporting, consider adding a brace at the joint where the pipe exits the tent. This is especially important for longer chimneys.
Step 5: Add a Spark Screen (Spark Arrestor)
A spark screen, or spark arrestor, is a mesh cap that fits over the top of the chimney. It prevents hot embers from escaping and landing on your tent or the surrounding area. This is crucial for safety, especially in dry conditions. Most spark screens are simple to install: they slip over the pipe end and are secured with a clamp or screws. Clean the screen regularly to prevent clogging, which can restrict draft.
Step 6: Test the Draft and Check for Leaks
Before firing up the stove, do a test run with a small fire or smoke source to check the draft. Smoke should rise steadily out of the chimney. If it backdrafts into the tent, the chimney may be too short, or there may be a blockage. Also, inspect all joints and the stove jack for leaks. A well-sealed system keeps smoke out and heat in.
Checklist for a Safe Chimney Setup
- Stovepipe diameter matches stove outlet (typically 3″ or 4″).
- Stove jack installed with at least 6-inch clearance from flammable materials.
- Pipe sections connected securely (screws or clamps).
- Chimney extends at least 6 inches above the highest point of the tent.
- Guy lines attached and tensioned to stabilize the chimney.
- Spark screen in place and clean.
- All joints and the stove jack checked for leaks.
- Carbon monoxide detector installed inside the tent.
Common Mistakes to Avoid
- Using too many bends: Each bend reduces draft and increases creosote buildup. Keep the pipe as straight as possible.
- Insufficient clearance: Not maintaining the minimum 6-inch clearance from tent fabric can lead to scorching or fire.
- Neglecting guy lines: A strong gust can topple an unsecured chimney, potentially causing a fire or damaging the pipe.
- Forgetting the spark screen: Embers can easily ignite your tent or start a wildfire.
- Poorly sealed stove jack: Leaks allow smoke and carbon monoxide into the tent.
- Using damaged pipe: Dents or holes can compromise draft and safety.
Maintenance Tips
Regular maintenance extends the life of your chimney pipe and keeps your setup safe. After each trip, inspect the pipe for creosote buildup, especially if you burn resinous wood. Creosote is highly flammable and can cause a chimney fire. Clean the pipe with a brush designed for stovepipes. Check the stove jack for wear and tear; silicone jacks can degrade over time. Replace any damaged components before your next trip.
For pellet stoves, follow the manufacturer’s cleaning recommendations. The Green Stove Hori 5 and Hori 5 Max are designed for easy maintenance, but always ensure the flue is clear before each use.
Frequently Asked Questions
How long should my tent stove chimney be?
The chimney should extend at least 6 inches above the highest point of your tent. A longer chimney can improve draft, but it must be properly supported. For most hot tents, a total length of 6 to 8 feet is sufficient.
Can I use a double-wall pipe with my tent stove?
Yes, double-wall pipes are compatible with many tent stoves and can reduce creosote formation and keep the outer surface cooler. However, they are heavier and more expensive. Ensure the pipe diameter matches your stove’s flue collar.
Do I really need a spark screen?
Absolutely. A spark screen prevents hot embers from escaping and igniting your tent or surrounding vegetation. It’s a critical safety accessory, especially in dry conditions.
How do I prevent smoke from backdrafting into my tent?
Ensure your chimney is tall enough (at least 6 inches above the tent’s peak) and that there are no blockages. Also, warm up the flue with a small fire before adding more fuel. Properly sealing the stove jack and maintaining a straight pipe run also help.
What’s the best way to store my stovepipe?
Clean the pipe thoroughly and store it in a dry, protected place. Some campers use a dedicated pipe bag to keep sections organized and prevent damage. Avoid bending or crushing the pipe.
Final Thoughts
Setting up your tent stove chimney pipe correctly is a skill that pays off in warmth, safety, and peace of mind. By following these steps, you’ll be ready to enjoy your hot tent adventures with confidence. Remember, the Green Stove Hori 5 and Hori 5 Max pellet tent stoves are designed to work seamlessly with standard chimney pipes, making them a reliable choice for winter campers. Always prioritize safety and maintenance, and you’ll get the most out of your setup.
FAQ
How long should my tent stove chimney be?
The chimney should extend at least 6 inches above the highest point of your tent. A longer chimney can improve draft, but it must be properly supported. For most hot tents, a total length of 6 to 8 feet is sufficient.
Can I use a double-wall pipe with my tent stove?
Yes, double-wall pipes are compatible with many tent stoves and can reduce creosote formation and keep the outer surface cooler. However, they are heavier and more expensive. Ensure the pipe diameter matches your stove’s flue collar.
Do I really need a spark screen?
Absolutely. A spark screen prevents hot embers from escaping and igniting your tent or surrounding vegetation. It’s a critical safety accessory, especially in dry conditions.
How do I prevent smoke from backdrafting into my tent?
Ensure your chimney is tall enough (at least 6 inches above the tent’s peak) and that there are no blockages. Also, warm up the flue with a small fire before adding more fuel. Properly sealing the stove jack and maintaining a straight pipe run also help.
What’s the best way to store my stovepipe?
Clean the pipe thoroughly and store it in a dry, protected place. Some campers use a dedicated pipe bag to keep sections organized and prevent damage. Avoid bending or crushing the pipe.
![Hori 5 Max Pellet Hot Tent Stove with Oven [Classic Control Version]](https://green-stove.com/wp-content/uploads/2025/10/hori5maxgreenstove002-800x800.webp)
![Hori 5 Max Pellet Hot Tent Stove with Oven [EASY OPERATION VERSION]](https://green-stove.com/wp-content/uploads/2026/09/61b6a5hzqRL._AC_SL1500_-800x800.webp)
![GREEN STOVE Hori 5 All-In-One Gravity Fed Pellet Wood Burning Hot Tent Stove [Classic Control Version]](https://green-stove.com/wp-content/uploads/2025/06/Green-Stove-Hori-5-Pellet-Stove-800x800.webp)